Deploy Web App
WebAppを実際Azure上に発行します
1. Visual Studio 2019にて公開作業を行います。
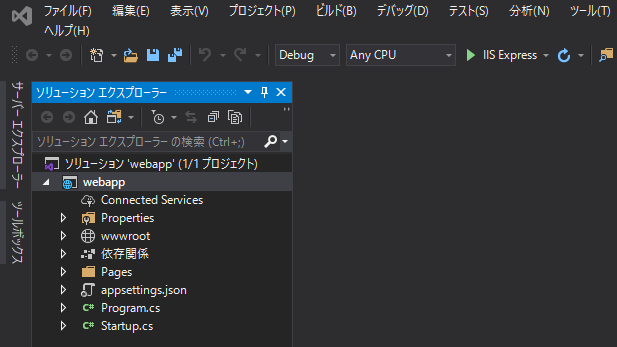
2. プロジェクトのコンテキストメニュー[発行]から
公開ツールを開くことができます。
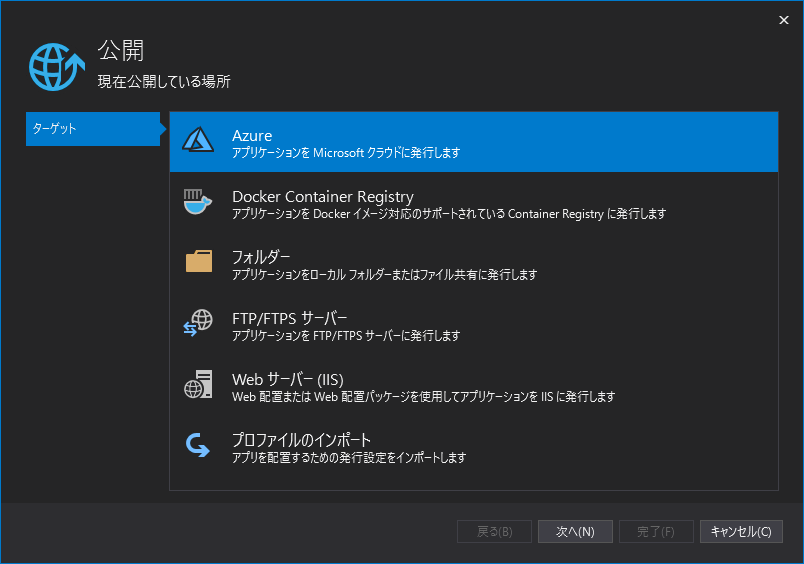
ターゲットは "Azure" を選択します
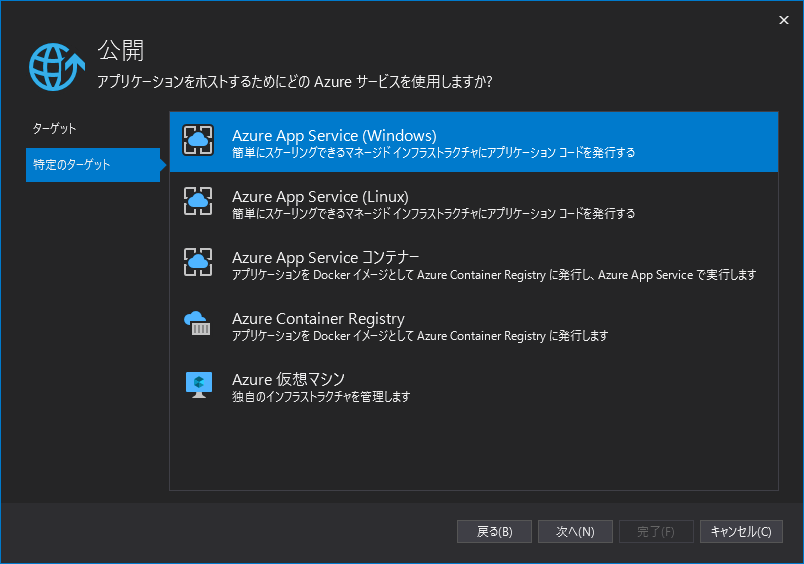
3. 特定のターゲットは "Azure App Service(Windows)" を選択します
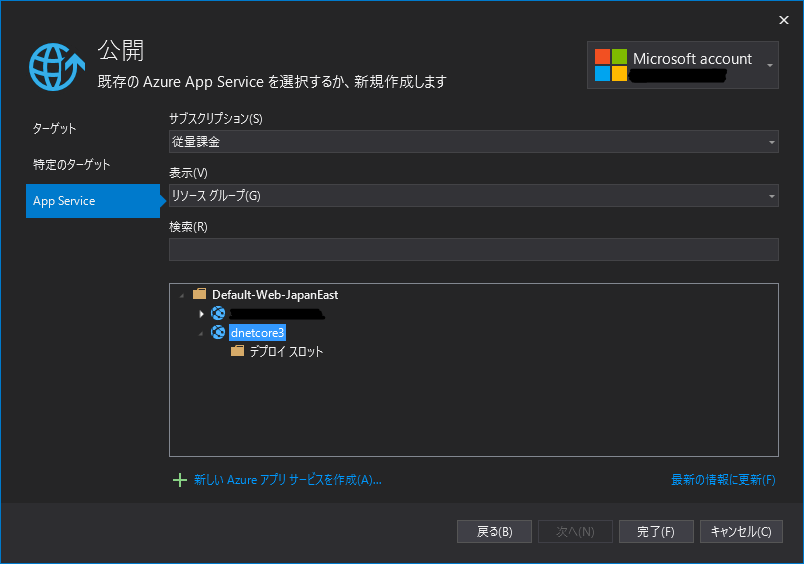
4. App Serviceは当サイトで作成した 既存の "dnetcore3" を選択します
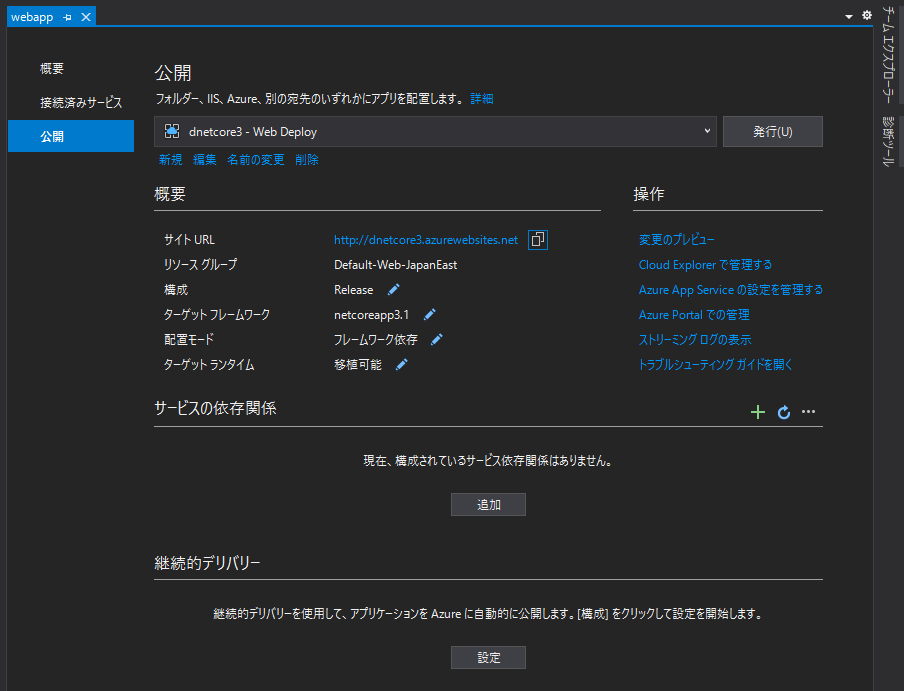
5. 公開可能な状態になりました。
"dnetcore3 - Web Deploy" にて "発行"可能です。
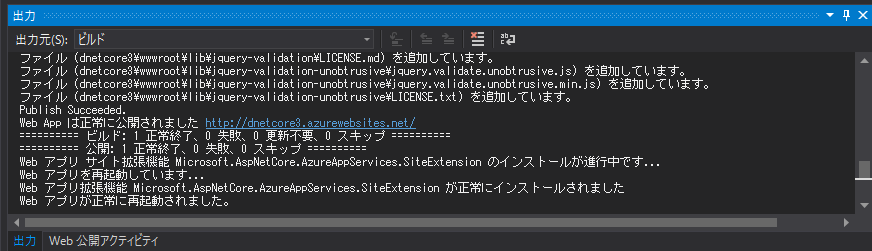
6. "発行"することで必要なファイルが
Azure App Service上に公開されます。
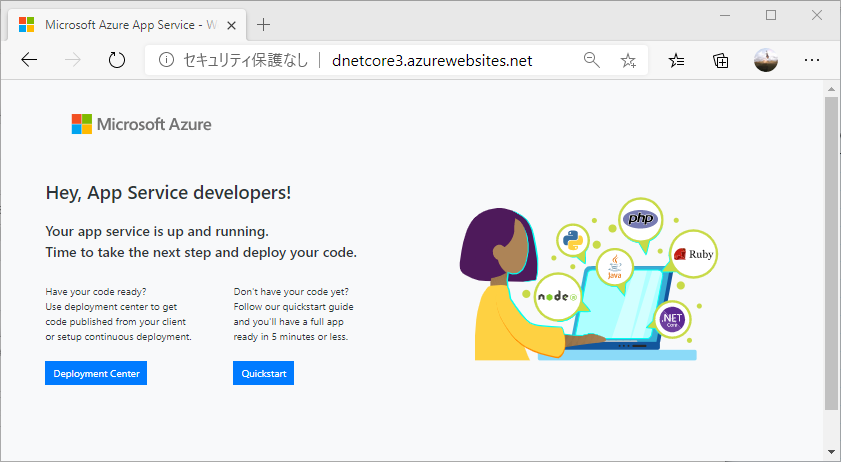
7. 発行完了後、https://dnetcore3.azurewebsites.net/に
アクセス可能になります。
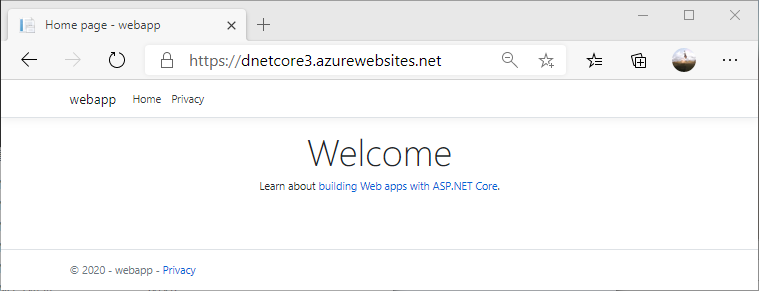
8. 前回作成したデフォルト構成のサイト
※上記手順にて dotnet new webappで作成、発行を行ったため
デフォルト構成を上書きして、新しい構成のサイトになりました。